2020 CLC Skerry Daysailer 15'
(Click on photos for larger view)

November 2019 - January 2020
October 2019
February 2020
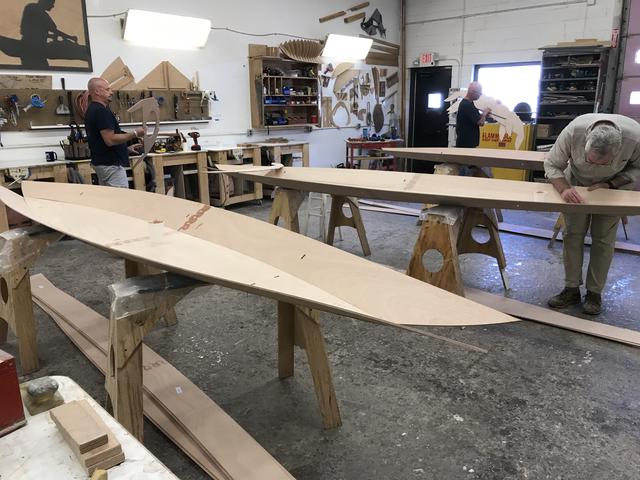
I decided to build the CLC (Chesapeake Light Craft) Skerry Daysailer from a kit and get a jump start on the basic construction by taking the CLC Skerry Class in Annapolis, MD, end of Sept 2019. We had 3 in the class. We started on a Monday and the class ended around noon time on Saturday. Each day we started around 800am and stopped between 530pm -730pm. The planks are assembled using a Lap-Stitch construction. More on that, below.
The construction progressed quickly since all the materials were furnished and precut; The planks were already scarfed and epoxied to make full sized planks so the class could start construction right away on Monday morning; the instructor throughout the class, provided an understanding of all the techniques/methods used, guided & assisted us and arranged the work, each day, so that while certain stages required the epoxy to cure, we started working on other stages of the project - Big timesaver! Even so, you are pretty much starting from scratch !
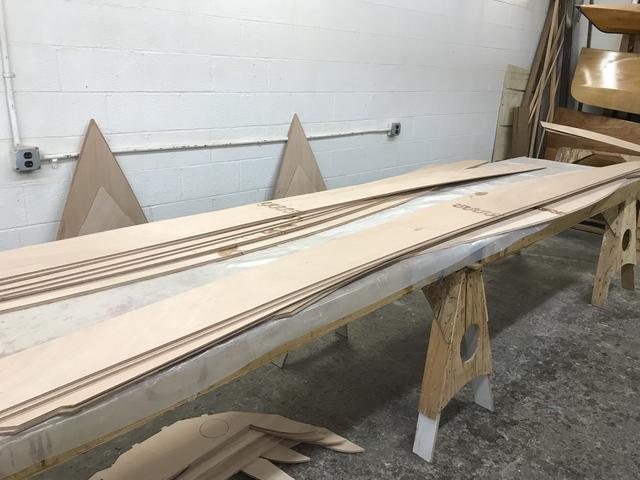
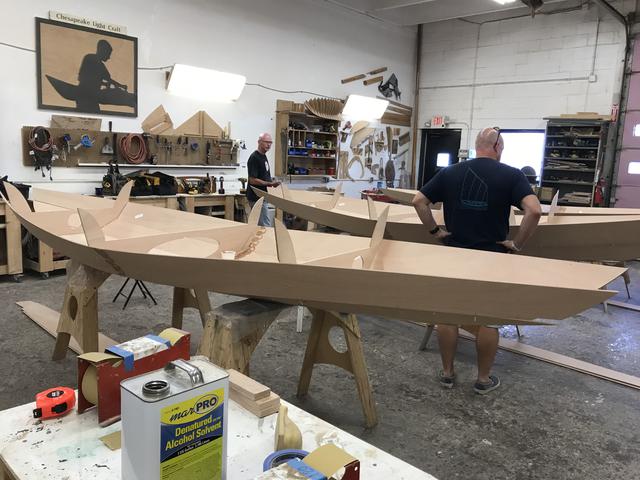
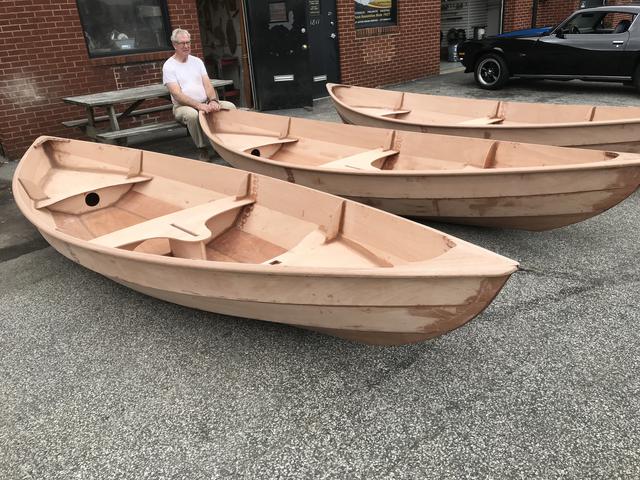
The first photo, below, represents our starting point. We each gathered our planks and set them down under our work station/sawhorses. (In the photos that follow, my Skerry is in the forefront.) A Lap-Stitch construction is used to join the planks. We each worked the plank joining ourselves. While most construction stages we worked on our own boats, there were a number of stages, later on, where we assisted each other.
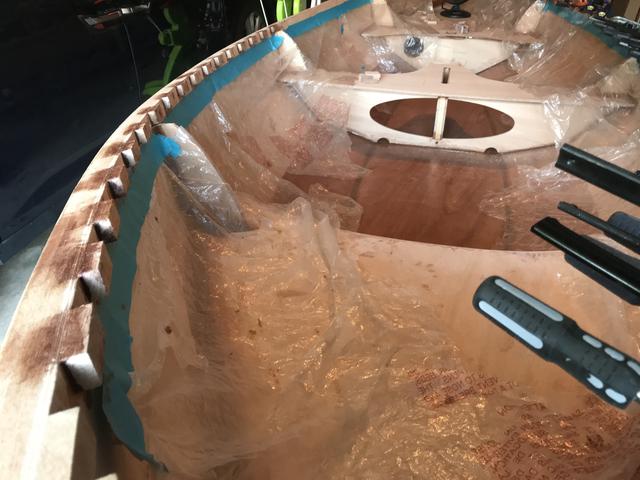
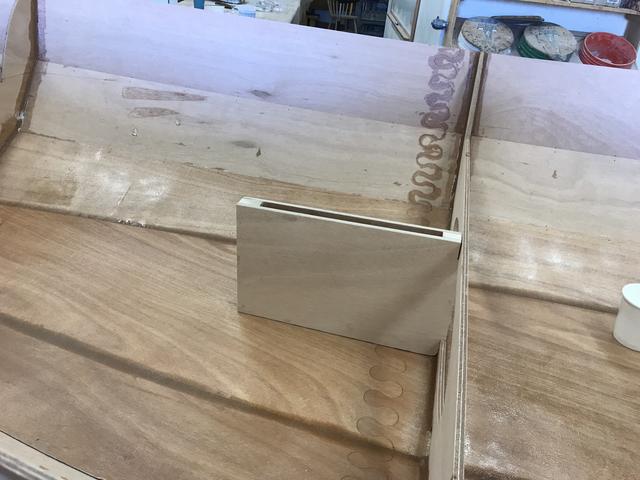
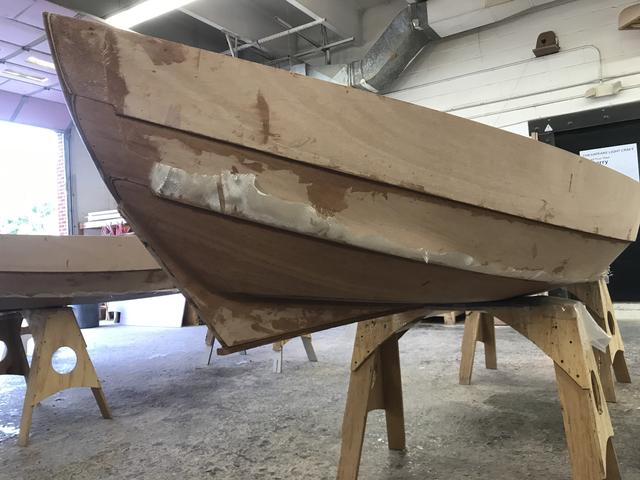
Lap-Stitch construction: Each of the planks had small pre-drilled holes along the plank edge. Using short copper wire lengths (ie. 6") and by using our knee for stability/holding the 2nd plank parallel and against the bottom plank, we lined up the holes (middle of the plank length) and inserted a copper wire thru the top facing side of the bottom plank and adjacent thru the in-hull side of the side plank, then gave the wire ends a few twists. After, many copper wires were subsequently stitched thru the two planks, the side plank loosely stayed in place. Then with pliers, each of the wires were firmly twisted drawing the side plank up and against the bottom plank. Each of the planks were subsequently aligned and joined together. Moving along, we eventually got to the step where we applied epoxy fillet welds. The photos indicate the additional construction stages that we completed.
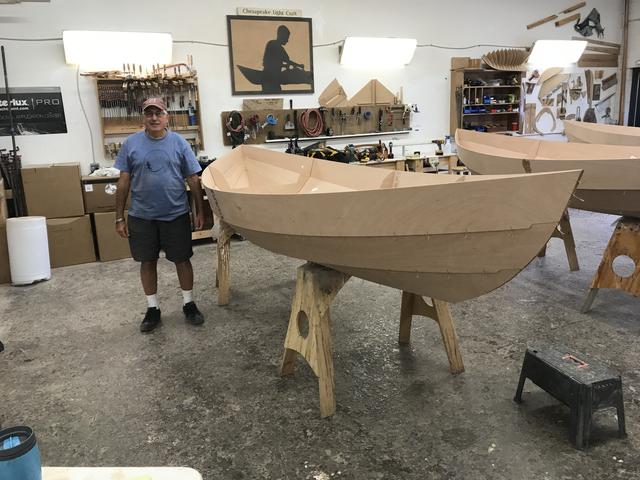
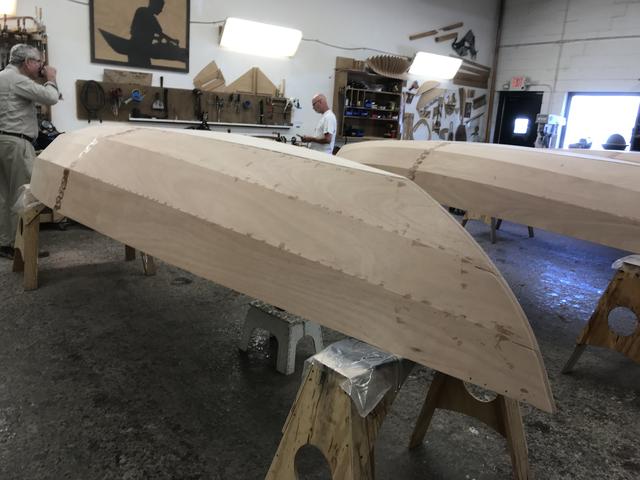
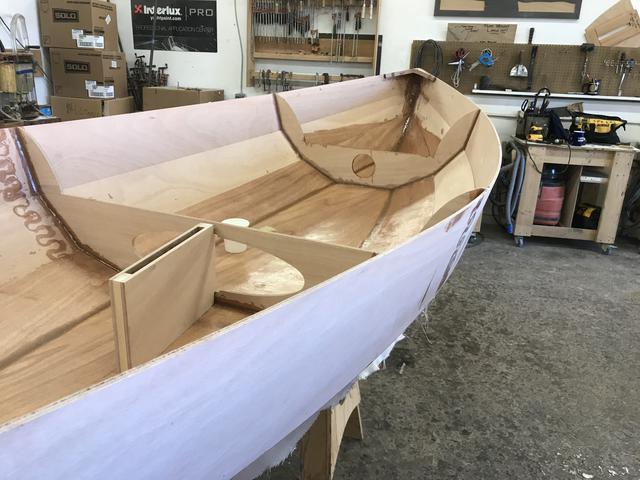
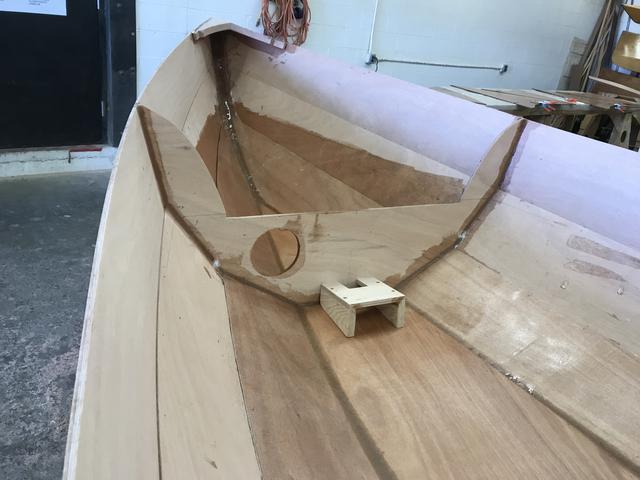
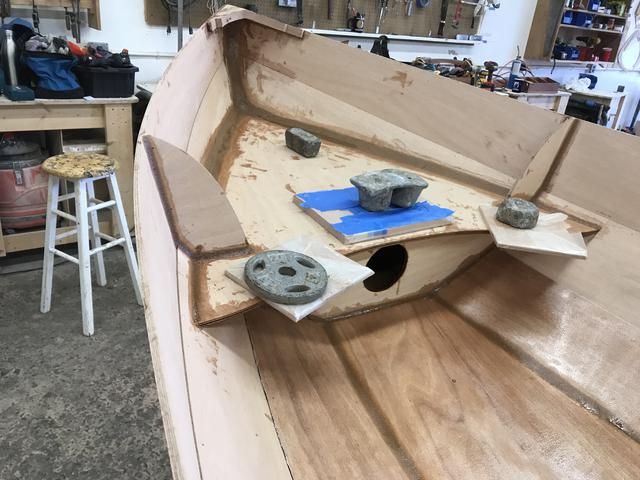
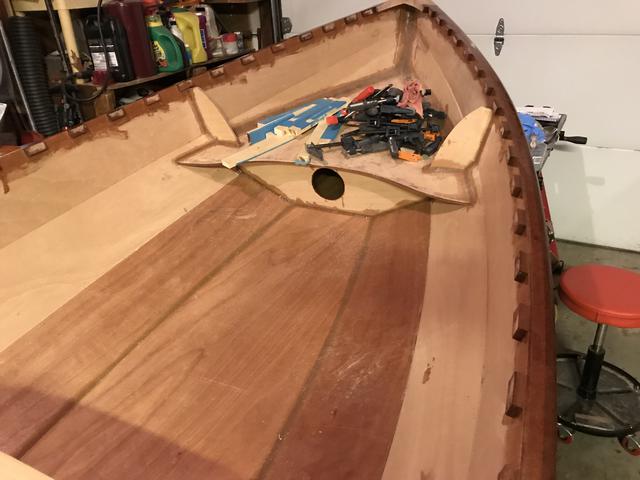
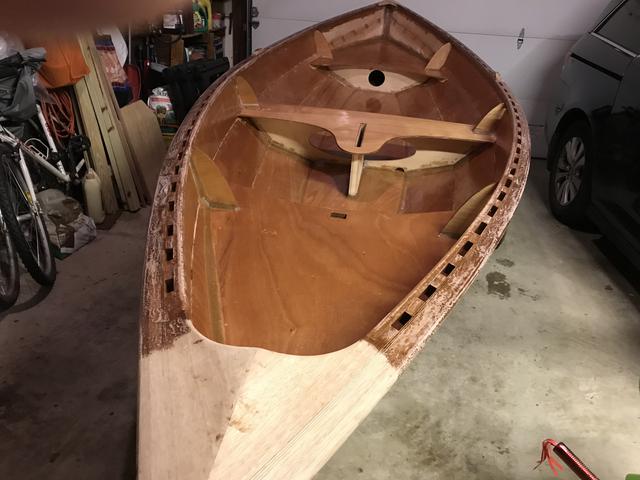
Photos of the bulkheads, daggerboard trunk construction and epoxy fillet welds. We then applied fiberglass cloth and epoxy resin to a large portion of the inner and outer hull mostly for added structural integrity. The decks/seats were also installed and epoxy fillet welds completed. Fillet welds under the seats - That was left for us to complete at home.
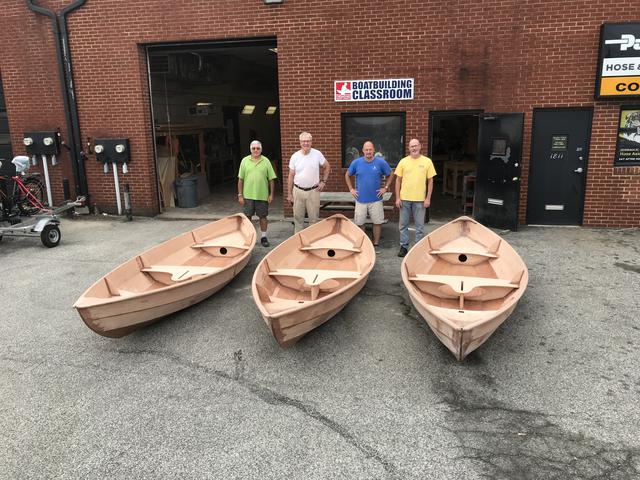
Saturday morning, we brought the hulls out from the workshop area, snapped some photos and then loaded our boats/hulls onto our trailers. (By the way, my Trailex trailer was assembled over the summer (came in 4 boxes, frame/support pieces and wheels). The Trailex trailer is in some of the photos, below.
Home - work
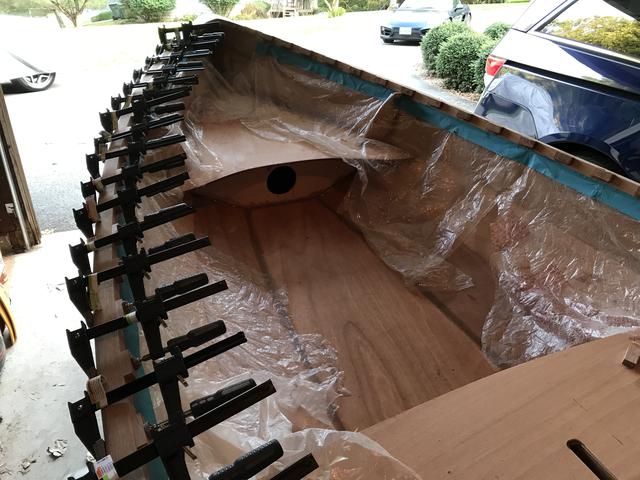
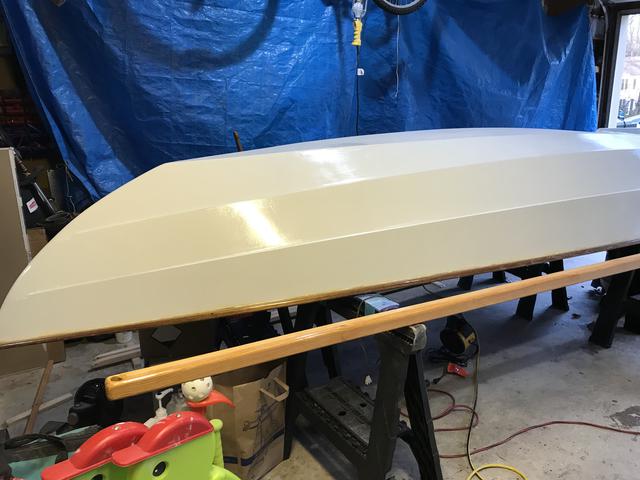
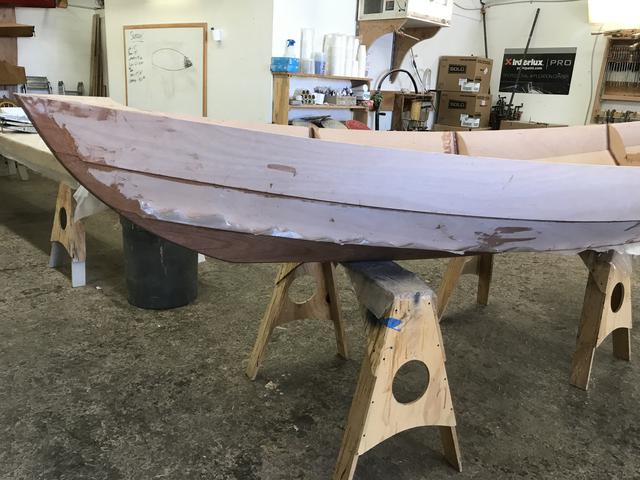
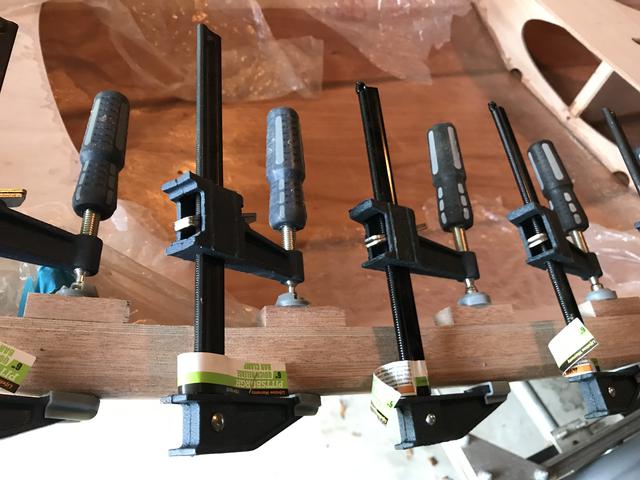
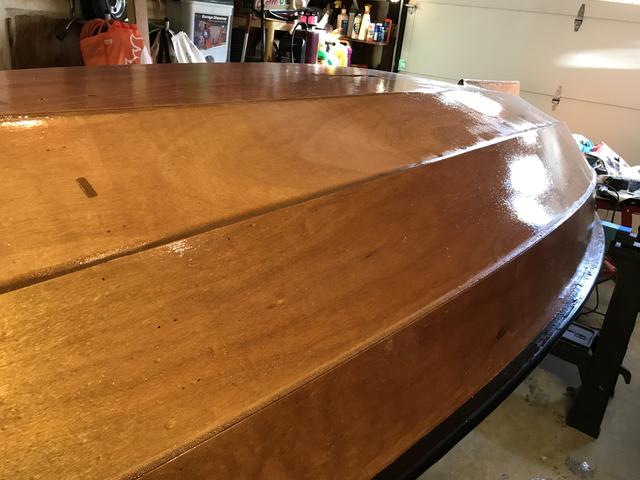
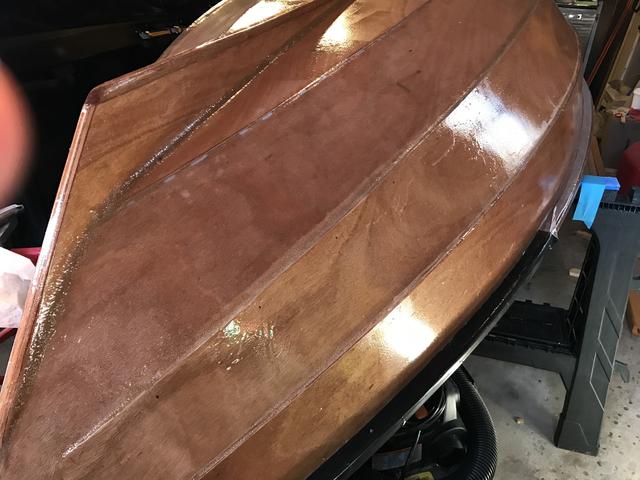
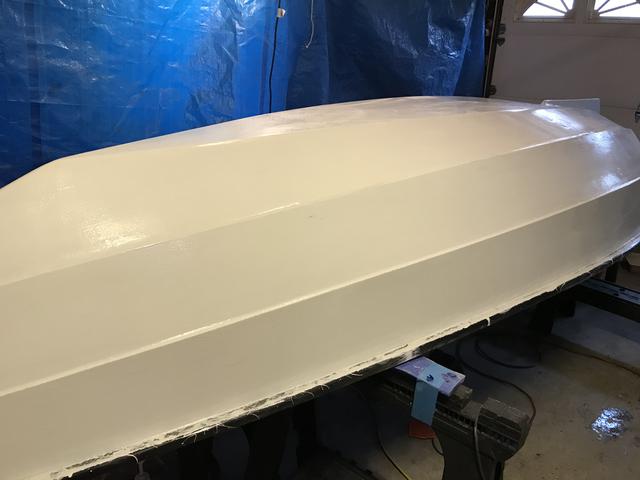
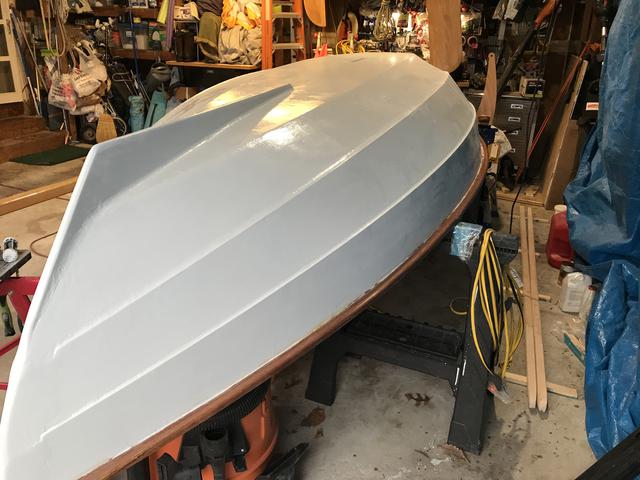
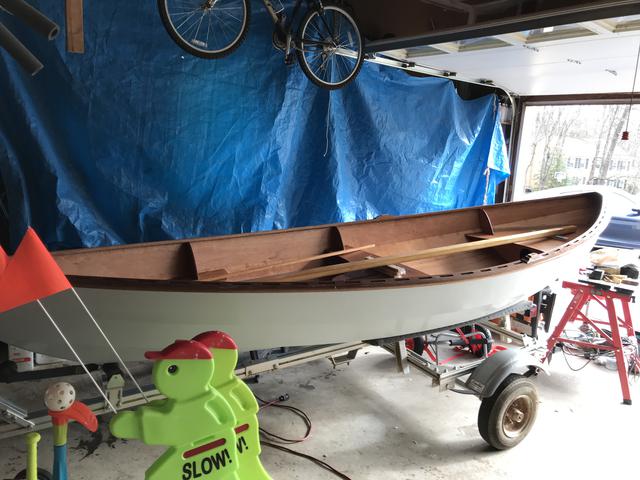
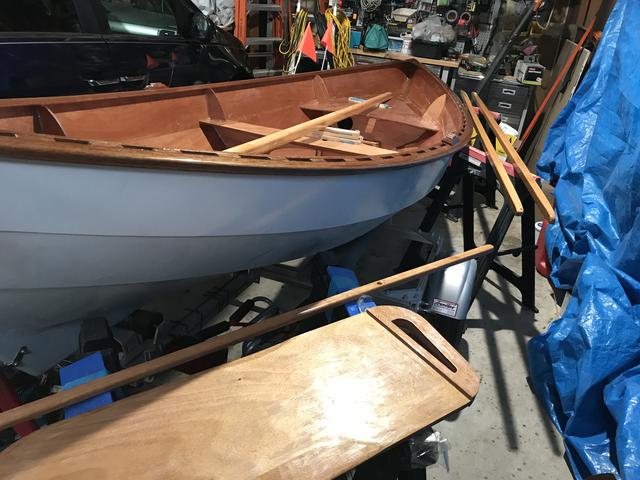
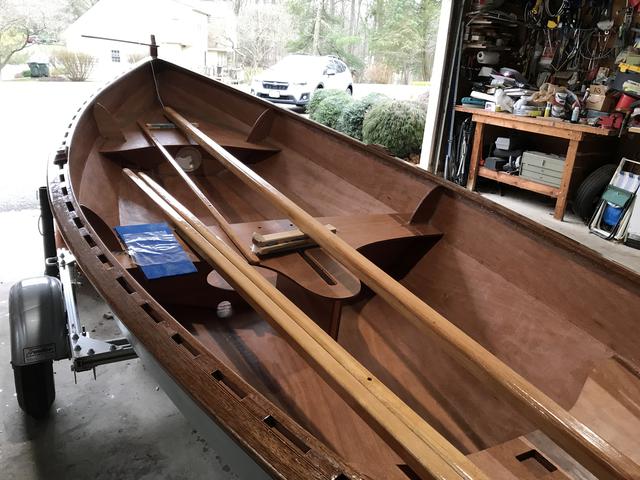
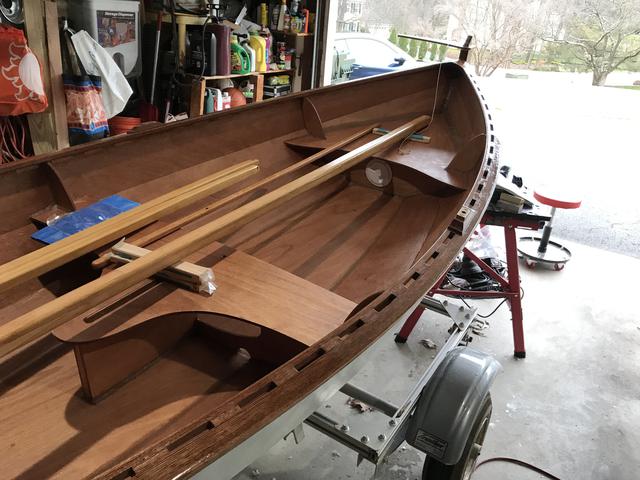
Class work completed the basic hull. What remained was a whole lot of sanding inside and outside the hull, finishing the remaining epoxy fillet welds, more sanding, more sanding, then (bow to stern) 3 coats of epoxy resin inside and outside the hull, more sanding, installing inwales (optional inside rail) epoxied to the top rail using hardwood spacers (see photos), more sanding, then inside hull - 4 coats of varnish w/sanding between coats, outside hull - 2 coats of Interlux pre-coat, more sanding, followed by 2 coats of Interlux Brightside paint, w/sanding between coats.
The epoxying and varnish coats of the rails, I worked on in October with the hull prep, epoxy and finish coats worked November thru January along with working misc parts from the sailboat kit (daggerboard, rudder box, rudder, tiller
and scarfing/joining hardwood sections for the mast, boom and yard). The mast, boom and yard - A router was used to put a curved radius on the sides. Boom and yard, tapered the the wood stock mostly for appearance . but a lot of work. Also more sanding, epoxy resin coats, more sanding, and then 4 varnish coats.
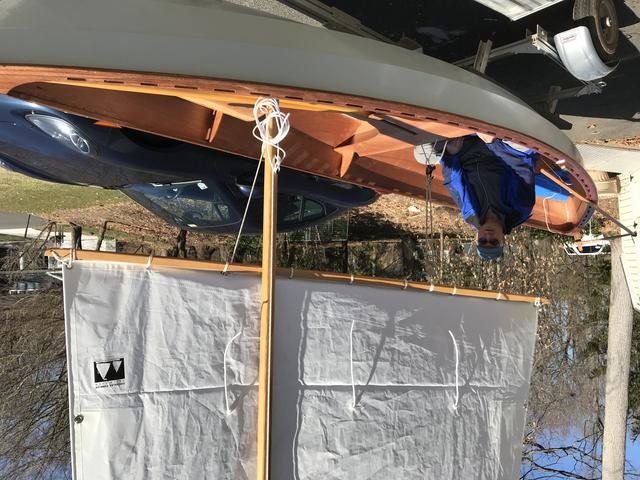
Completed ! End of February. As of Feb 8th,Completed the 2nd varnish coat of the boom, yard and tiller. Mast and rudder assy completed except for a few fittings/cleats. 2 more varnish coats on the boom, yard and tiller remain. Same with top rail and inwales - I did not like how the finish came out, so I sanded them down, epoxy and varnish coats re-applied and they are now almost complete as well - 2 varnish coats remain to be completed. Then lashing the sail to the boom and yard, sorting out the running rigging and a few additional things.
End of February all the above completed. I also added orange raft (heavy duty) raft netting to the bow and stern rails/inwales with bungee cord - The netting is above the deck areas (bow and stern) for approximately 2+feet, maybe 75% of the deck areas. I added the netting so that gear/clothing bag, etc can be placed on/hooked to the netting, so it stays in place without concern for items going overboard due to wind or sailing. The only thing I am going to do in the next week or two is add some fittings and lines for reefing the sail. Anticipate maiden voyage April 2020 - Waiting another month or so for the air/water temps to warm a bit.
(Need to add photo with netting attached - May wait until reefing fitting/lines assembled,)
September. 2019
Click on photos for larger view
Double click here to add text.
Double click here to add text.
Double click here to add text.
Sold
June 2025